Start with simple checks
You can often try a normal restart, check for supported software updates, test an undamaged compatible charging cable or replace a screen protector. Back up important data before troubleshooting that could affect it.
Keep maintenance external
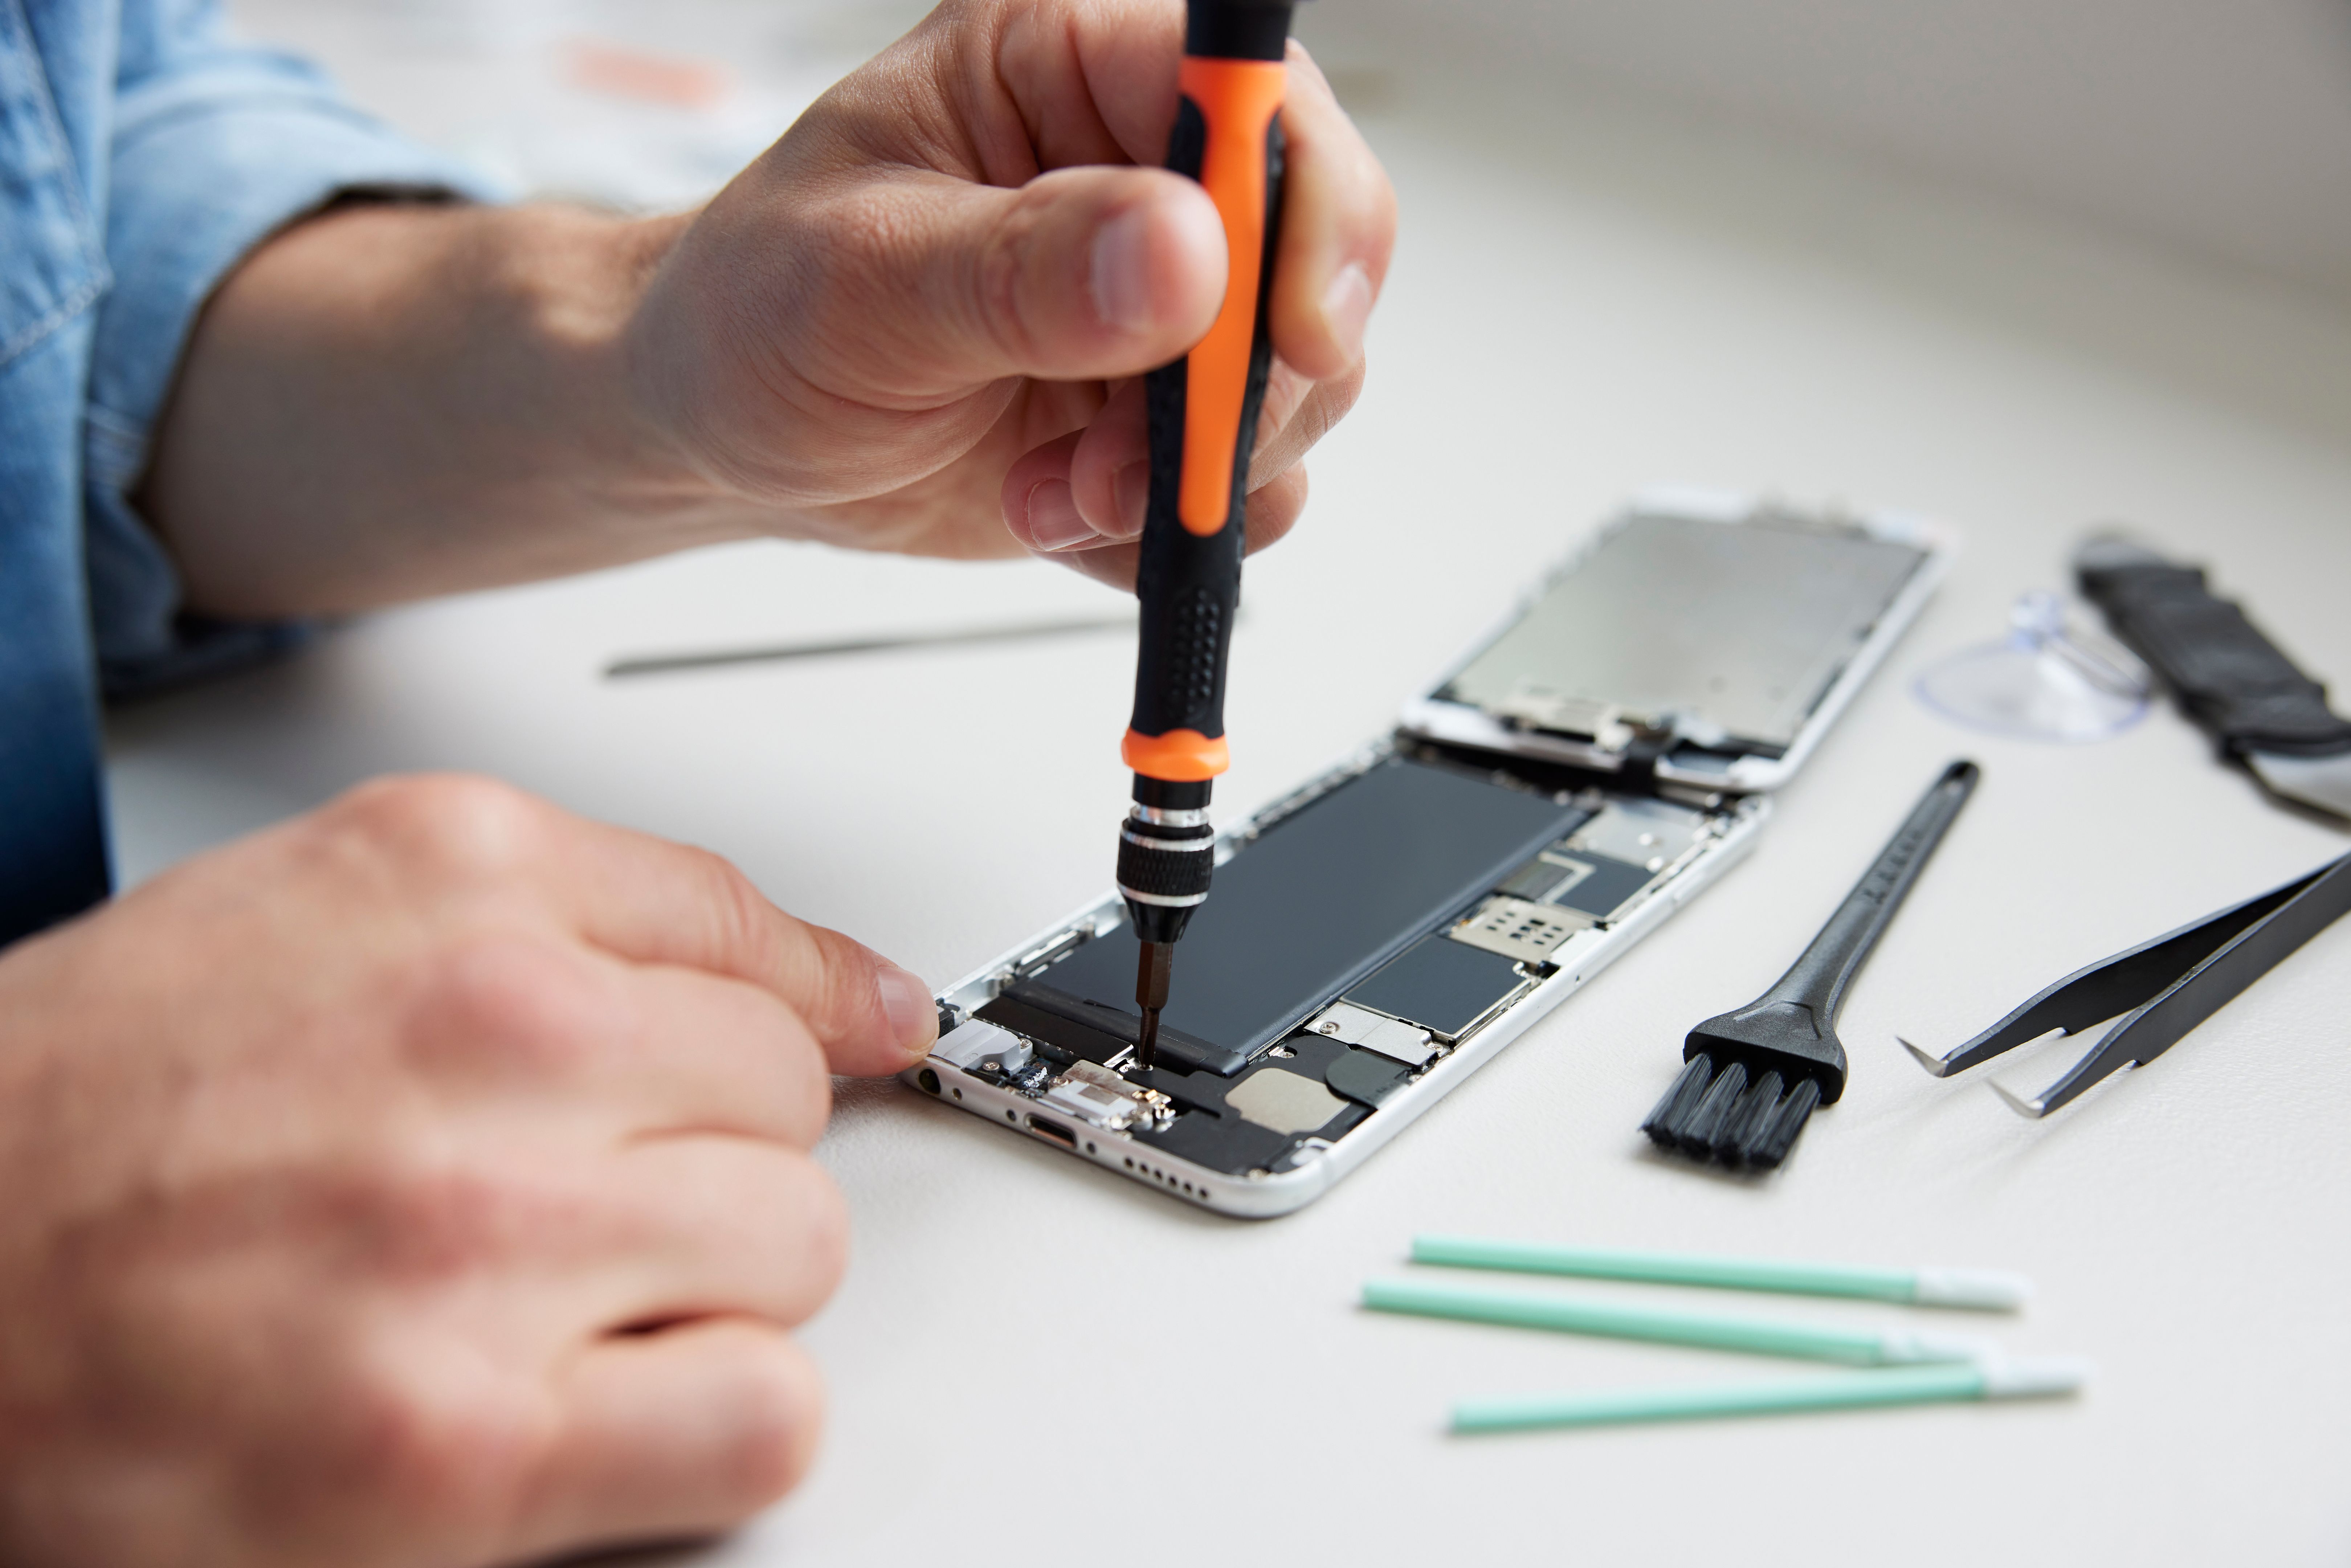
Follow the manufacturer’s cleaning guidance. Do not push tools or liquids into a charging port. A loose or unresponsive button may have an internal fault, so avoid opening the phone to investigate it.
Battery and screen repairs
Most modern phones have sealed, adhesive-mounted lithium-ion batteries and delicate internal cables. Battery replacement is not a routine beginner repair. Cracked screens and internal button faults also need model-specific tools, parts and experience. Ask for assessment rather than relying on a generic repair tutorial.
Swelling or liquid damage
Stop using and charging a swollen or damaged device. Do not press, puncture or try to remove the battery. For liquid exposure, disconnect power and seek advice; do not use heat or repeatedly try to switch the device on.
Choose a suitable next step
Check existing manufacturer cover before authorising a repair. At NXT GEN, we explain the available options and quote, carry out agreed work and retest relevant functions. Repairs have a three-month warranty, subject to terms.
Related NXT GEN services
Mobile phone repairs · Screen, battery and back-glass options · Check repair prices & book